Make-Ahead Freezer Meals That Save Our Busy Colorado Weeks

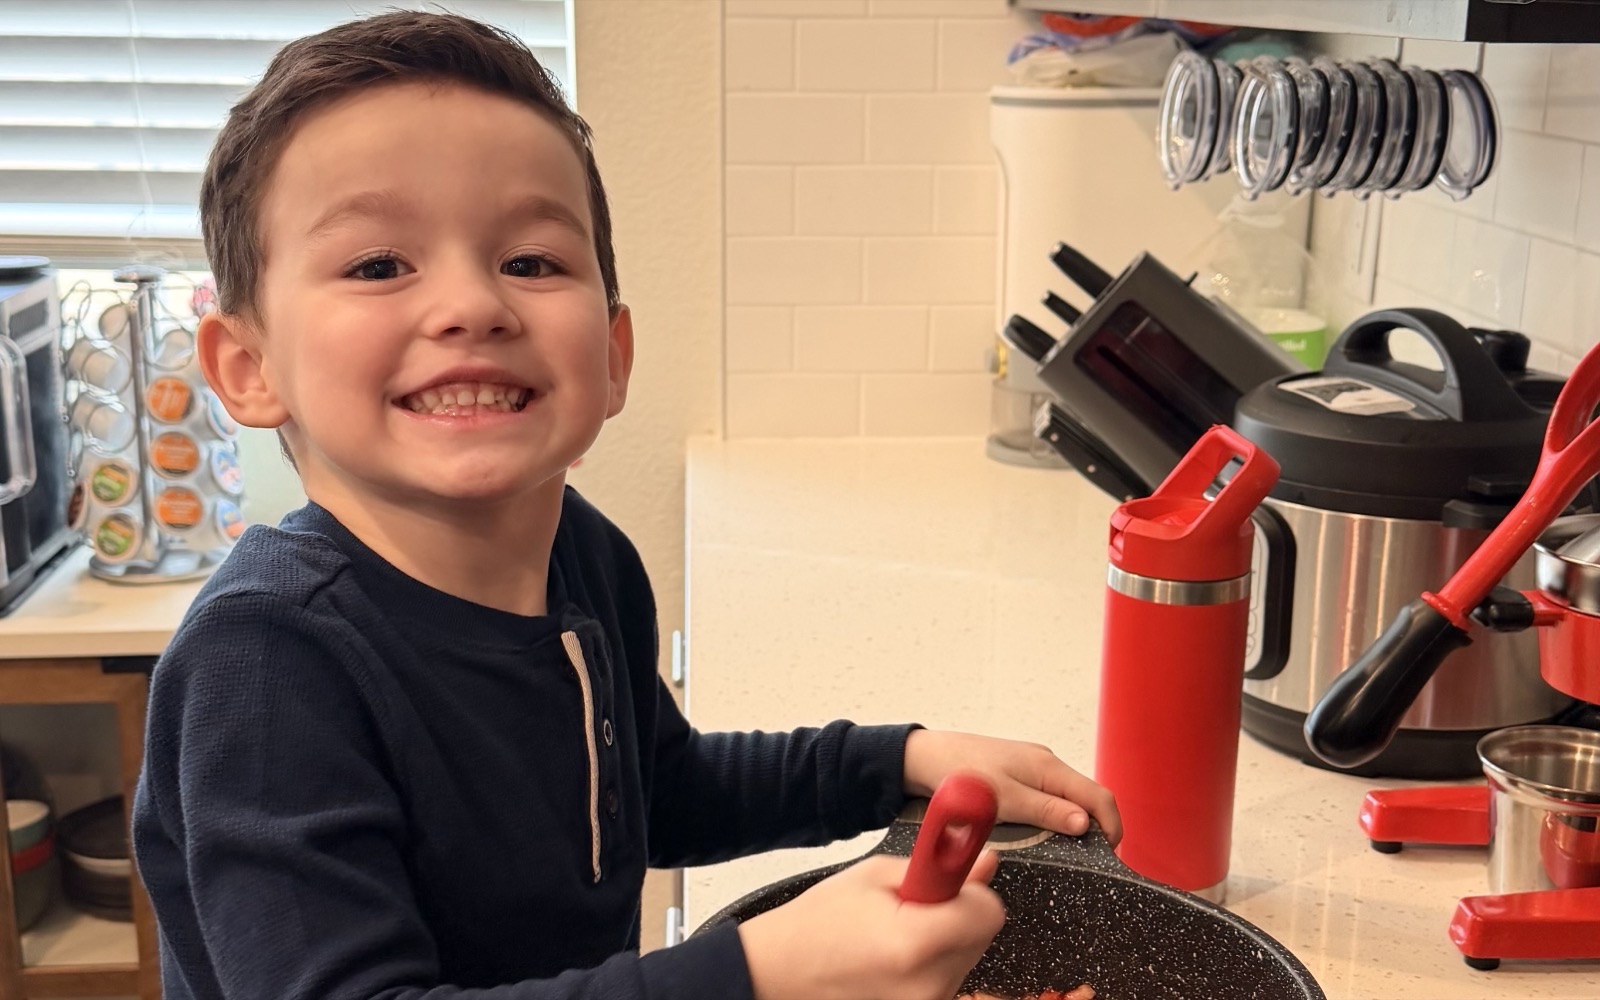
A streamlined two-hour batch cooking prep system—paired with scratch lasagna, chicken piccata, Sunday braciole and a mountain of Italian meatballs—will completely rescue your busy weeknight dinners.
On this page
Okay so… listen. Picture this with me: It’s 5:45 PM on a crisp Tuesday in October. The sun is already dipping behind the Rockies, the wind coming off the trail feels like an ice bath, and Hubs is out in the garage washing down waders and stowing our fishing rods after a weekend up near Buena Vista. Meanwhile, my 4-year-old son, Luke, is currently attempting to turn our living room coffee table into a ramp for his monster trucks while loudly declaring that he is “literally starving to death” because he rejected his afternoon apple slices.
And me? I’m standing in the kitchen, staring into the open abyss of the refrigerator like a ghost haunting my own house.
There is half a jar of marinara, three lonely baby carrots, and a vague feeling of defeat. Cooking a gourmet meal from scratch right now? Absolutely not. Ordering takeout that arrives lukewarm forty minutes later, for more than the meal is worth? Hard pass.
Instead, I walk over to the garage chest freezer, pull out a neatly stacked, labeled silicone block of homemade Sunday sauce, pop it directly into the Instant Pot, and dinner is on the table twenty minutes later. No stress, no sink full of greasy pans, and no frantic mid-week grocery runs.
I wasn’t always this organized. In fact, before I cracked the code on freezer prepping, my strategy for busy weeknight dinners was mostly “panic and eat cheese slices over the sink.” But between wrangling an energetic 4-year-old boy, keeping up with our family’s constant weekend outdoor adventures, and running this blog, I had to figure out a system that actually works for real life.
If you’ve ever pulled a freezer meal out of the depths of your freezer only to end up with a watery, freezer-burned casserole that tastes like aluminum foil and sadness, I hear you. Today, I am sharing my exact, bulletproof freezer-prep system, self-proclaimed gadget-queen tools, and four ridiculously good staple recipes that get my family through our absolute busiest weeks. Grab a fresh iced coffee, kick your feet up, and let’s dive in.
What is my stress-free freezer meal prep system?
Before we talk recipes, we have to talk system. The main reason people hate freezer meals is that they try to spend six grueling hours on a Sunday making fifteen different meals, end up with a destroyed kitchen, and swear off meal prepping forever. We are not doing that here.
Instead, I use a “two-hour batch block” method about once every three to four weeks. I pick two protein bases, buy in bulk, and double or triple recipes I’m already making for dinner that night. If you are already layering one pan of lasagna, layering two takes about five extra minutes.
To keep this from becoming a chaotic mess, I rely heavily on a few essential tools that make the process feel slick and streamlined. These are my non-negotiables:
- Souper Cubes (Silicone Freezer Trays): If you take nothing else from this post, get yourself a set of 1-cup and 2-cup silicone portioning trays. They allow you to freeze soups, stews, and sauces into perfect rectangular blocks. Once frozen solid, you pop them out, slip them into freezer bags, and stack them like bricks. It saves an unbelievable amount of space.
- A Heavy-Duty Vacuum Sealer (or FoodSaver): Air is the absolute enemy of freezer storage. Moisture turns into ice crystals, which turns into freezer burn. A solid vacuum sealer keeps food fresh three times longer than standard Ziploc bags.
- Painters Tape and a Sharpie: Never, ever trust your memory. Every frozen brick looks like a mysterious red sauce after three weeks. Every single bag gets labeled with three things: Item Name, Date, and Reheating Instructions (e.g., “Thaw overnight, bake at 375°F for 30 mins”).
- Disposable Aluminum Foil Pans: For casseroles, buy the cheap 9x13 foil pans from the dollar store or grocery baking aisle. You don’t tie up your good Pyrex bakeware in the freezer for months, and cleanup after dinner involves tossing the pan in the recycling bin.
The cardinal rule of freezer prep is simple: Cool everything completely before freezing. If you pour steaming hot sauce or a warm pan of lasagna into a freezer bag and seal it up, steam creates condensation. Condensation becomes water droplets. Water droplets become ice crystals. Ice crystals equal soggy, freezer-burned food. Let your food cool down to room temperature (or chill it in the fridge first) before it hits the deep freeze.
Why is a classic scratch lasagna the ultimate freezer victory?
This is the freezer meal that started my entire batch-cooking obsession, mama. On those chaotic weeknights when four-year-old Luke is building block towers across the living room and Hubs emerges from his home office asking what’s for dinner, pulling this out feels like an absolute superpower. Right alongside my big-batch beef stroganoff, having a real, layered-from-scratch Italian lasagna tucked away in the deep freeze is pure sanity insurance.
Classic Make-Ahead Scratch Lasagna
Yields: 8 generous servings
Prep time: 40 mins | Cook time: 50 mins
Ingredients:
- 1 lb lean ground beef (85/15)
- 1 lb sweet Italian ground pork sausage
- 1 medium yellow onion, finely diced
- 4 cloves garlic, minced
- 2 cans (28 oz each) whole peeled San Marzano tomatoes, crushed by hand
- 2 tbsp tomato paste
- 2 tsp dried oregano
- 1/4 cup fresh basil, chopped
- 1 tsp kosher salt
- 1/2 tsp freshly cracked black pepper
- 15 whole lasagna noodles (cooked al dente)
- 16 oz whole-milk ricotta cheese
- 1 large egg, lightly beaten
- 1/2 cup freshly grated Parmigiano-Reggiano
- 4 cups whole-milk mozzarella cheese, freshly shredded
Instructions:
- Simmer the meat sauce: In a large Dutch oven over medium heat, brown the ground beef and Italian sausage, breaking it up with a wooden spoon. Drain excess fat, toss in the diced onion and garlic, and cook until soft and fragrant. Stir in tomato paste, crushed tomatoes, oregano, salt, and pepper. Simmer on low for 25 minutes, then stir in fresh basil.
- Whip the ricotta filling: In a medium bowl, whisk together the ricotta, beaten egg, Parmigiano-Reggiano, and a pinch of salt until smooth and creamy.
- Layer the dish: Spread a thin layer of meat sauce across the bottom of a 9x13 freezer-safe baking dish. Lay down 4 or 5 overlapping cooked noodles, spread half of the ricotta mixture on top, ladle over meat sauce, and sprinkle with a cup of mozzarella. Repeat for a second full layer, then finish with a top layer of noodles, the remaining sauce, and the rest of the mozzarella.
- Wrap for the freeze: Do NOT bake yet! Let the dish cool completely to room temp so no condensation forms. Wrap the dish tightly in two layers of plastic wrap, followed by a sturdy layer of heavy-duty foil. Label and freeze flat for up to 3 months.
To bake from frozen: Thaw completely in the fridge for 24 hours. Remove the plastic wrap, put the foil back on, and bake at 375°F for 40 minutes. Remove the foil and bake for another 15 minutes until bubbling and golden on top. Let it rest for 15 minutes before slicing so those gorgeous layers stay intact!
How do you freeze chicken piccata without ruining the delicate sauce?
If you ask Luke what he wants for dinner on any given Tuesday, the answer is always chicken piccata. It is bright, savory, and feels like something from a cozy trattoria, but weeknight cutlet-pounding can test anyone’s patience. The golden secret to freezing this dish without the silky lemon-caper sauce breaking? Freeze the golden pan-seared cutlets and the concentrated sauce base in separate compartments of a freezer container, then bring them together right in the hot skillet.
Freezer-Ready Pan-Seared Chicken Piccata
Yields: 4 servings
Prep time: 20 mins | Cook time: 15 mins
Ingredients:
- 4 boneless, skinless chicken breasts, sliced horizontally into cutlets and pounded to 1/4-inch thickness
- 1/2 cup unbleached all-purpose flour
- 1 tsp kosher salt
- 1/2 tsp freshly ground black pepper
- 3 tbsp olive oil
- 2 tbsp unsalted butter (for searing)
- 3 cloves garlic, minced
- 1 cup homemade chicken bone broth
- 1/3 cup fresh lemon juice (about 2 large lemons)
- 3 tbsp non-pareil capers, drained and rinsed
- 1/4 cup fresh Italian flat-leaf parsley, finely chopped
- 2 tbsp extra cold butter (reserved for finishing day-of)
Instructions:
- Dredge the cutlets: Mix flour, salt, and pepper in a shallow dish. Pat chicken dry with paper towels, then lightly dredge each cutlet in the seasoned flour, shaking off any excess.
- Pan-sear to golden perfection: Heat olive oil and 2 tablespoons of butter in a large stainless steel skillet over medium-high heat. Working in batches, sear cutlets for 2 to 3 minutes per side until golden brown and cooked through. Transfer to a wire rack to cool completely.
- Build the sauce concentrate: Lower heat to medium, add minced garlic to the pan drippings, and sauté for 30 seconds. Pour in the chicken broth and lemon juice, scraping up all those delicious browned bits from the pan bottom. Stir in the capers and simmer until the liquid reduces by about half (about 4–5 minutes). Remove from heat and let cool.
- Pack and freeze: Lay cooled cutlets in a single layer separated by parchment paper in a freezer container. Pour the cooled lemon-caper sauce reduction into a separate small freezer-safe container or bag and tuck it right alongside the chicken.
To reheat: Thaw both containers in the fridge overnight. Heat a splash of olive oil in a wide skillet over medium heat, re-crisp your cutlets for 1–2 minutes per side, and remove to a warm plate. Pour the thawed sauce into the pan, whisk in the 2 tablespoons of cold butter until glossy and emulsified, toss in fresh parsley, and pour over the chicken. Dinner in under 10 minutes, mama!
Can an authentic Sunday beef braciole really freeze like a dream?
Braciole sounds super fancy, but at its heart, this is rustic Italian comfort food made for big family dinners. Tender beef rolled around garlic, sharp Pecorino, prosciutto, and herbs, all slow-simmered in a rich tomato sauce until you can cut it with a fork. It is one of my all-time favourite Sunday projects, and because it braises directly in sauce, it freezes INCREDIBLY well without drying out.
Sunday Sauce Braised Beef Braciole
Yields: 6 rolled braciole
Prep time: 30 mins | Cook time: 2 hrs
Ingredients:
- 1.5 lbs flank steak or top round (butterflied and pounded thin into 6 individual 4x6-inch cutlets)
- 6 slices thin prosciutto di Parma
- 1/2 cup homemade unseasoned breadcrumbs
- 1/2 cup freshly grated Pecorino Romano cheese
- 3 cloves garlic, finely minced
- 1/3 cup fresh Italian parsley, finely minced
- 2 tbsp extra virgin olive oil (plus more for browning)
- 1/2 cup dry red wine (like Chianti)
- 2 cans (28 oz each) whole San Marzano tomatoes, pureed in a blender
- 1/2 tsp kosher salt
- 1/4 tsp black pepper
- Kitchen twine
Instructions:
- Prepare the filling: In a small bowl, combine breadcrumbs, Pecorino Romano, minced garlic, chopped parsley, a pinch of black pepper, and 2 tablespoons of olive oil to moisten the mixture.
- Stuff and roll: Lay the pounded beef cutlets flat. Place one slice of prosciutto over each cutlet, then evenly sprinkle the breadcrumb filling across the surface. Roll each cutlet up tightly like a small jelly roll and secure with two pieces of kitchen twine.
- Brown and braise: Heat 2 tablespoons of olive oil in a large heavy Dutch oven over medium-high heat. Brown the beef rolls on all sides until deep golden (about 6–8 minutes total). Pour in the red wine to deglaze the pot, scraping the bottom. Add the pureed tomatoes and salt. Bring to a gentle simmer, cover with a lid, reduce heat to low, and braise for 1.5 to 2 hours until the beef is melt-in-your-mouth tender.
- Cool and pack: Remove pot from heat and allow everything to cool down to room temperature. Transfer the braciole and all of that glorious, rich sauce into a deep, airtight freezer container, making sure the beef rolls are completely submerged in sauce.
To reheat: Thaw overnight in the refrigerator. Pour the beef rolls and sauce into a wide pan over medium-low heat on the stove, cover, and let it gently simmer for 15 minutes until piping hot throughout. Snip off the twine, serve with thick rigatoni or a hunk of crusty bread, and pat yourself on the back for being a meal-prep genius!
How do versatile baked meatballs save weeknight dinners?
If you only prepare one protein for your freezer this month, make it a massive batch of juicy, seasoned baked meatballs. They are hands-down the most versatile food item in my meal prep arsenal.
With one 50-meatball batch frozen in your freezer, you are instantly 15 minutes away from three totally different weeknight dinners:
- Classic Italian Night: Simmered in marinara sauce over linguine with garlic bread.
- Mountain Meatball Subs: Tossed in marinara, stuffed into toasted hoagie rolls, topped with provolone, and broiled.
- Asian Sesame Bowl: Glazed with sweet teriyaki or hoisin sauce, served over steamed rice with quick-steamed broccoli.
All-Purpose Freezer Baked Meatballs
Yields: Approx. 45–50 meatballs
Prep time: 20 mins | Cook time: 18 mins
Ingredients:
- 2 lbs ground beef (85/15 blend works best for moisture)
- 1 lb ground pork or sweet Italian sausage
- 1 cup panko breadcrumbs
- 1/2 cup milk
- 2 large eggs, lightly beaten
- 1 cup freshly grated Parmesan cheese
- 4 cloves garlic, finely minced
- 2 tbsp dried Italian seasoning
- 1 tbsp onion powder
- 1.5 tsp kosher salt
- 1/2 tsp black pepper
- 1/4 cup fresh parsley, finely chopped
Instructions:
- Soak breadcrumbs: In a small bowl, combine panko breadcrumbs and milk. Let sit for 5 minutes until the liquid is absorbed. (This “panade” step is the secret to soft, tender meatballs that never get tough!).
- Mix gently: In a very large bowl, combine beef, pork, soaked breadcrumbs, eggs, Parmesan, minced garlic, Italian seasoning, onion powder, salt, pepper, and fresh parsley. Use your hands to gently mix until just combined. Do not overmix, or the meatballs will become dense.
- Shape: Preheat oven to 400°F. Line two large rimmed baking sheets with parchment paper. Roll meat mixture into 1.5-inch balls (about the size of a golf ball) and place them an inch apart on the sheets.
- Bake: Bake for 16–18 minutes until browned and cooked through (internal temp reaching 165°F).
- Flash Freeze: Remove from oven and cool completely. Place the entire baking sheet with the cooled meatballs into the freezer for 1 to 2 hours until the meatballs are frozen solid (this prevents them from sticking together in one giant clump!).
- Package: Transfer frozen meatballs into a large vacuum-seal bag or heavy-duty Ziploc freezer bag. Vacuum seal and store for up to 4 months.
How to Reheat:
Drop frozen meatballs directly into simmering pasta sauce on the stove and cook over medium heat for 15 minutes until heated through. Alternatively, bake frozen meatballs on a foil-lined tray at 375°F for 15–20 minutes.
Frequently asked questions
How long do freezer meals actually last without getting freezer burn?
When stored in standard zip-top bags, most homemade freezer meals stay at peak quality for 2 to 3 months. However, if you use a quality vacuum sealer to remove all air, or freeze liquids in solid blocks using silicone trays, meals can easily last 4 to 6 months without any drop in flavor or texture.
Can you freeze dairy-based soups or casseroles without them separating?
Heavy dairy products like sour cream, milk, and cream cheese can break, curdle, or turn grainy when frozen and thawed. For casseroles, mixing dairy with starches (like flour or condensed cream bases) stabilizes it enough to freeze well. For soups, cook the soup base entirely without dairy, freeze it, and simply stir in fresh cream or cream cheese during the last five minutes of reheating on your stovetop!
What are the best containers for small freezer spaces?
If you have a standard side-by-side or bottom-drawer freezer with limited space, avoid freezing food in rigid round plastic containers or glass jars. They leave huge amounts of empty, wasted space between containers. Freeze soups and stews flat in gallon ziplock bags or use silicone portion blocks (like Souper Cubes), then stack them vertically like books on a shelf!
Do I need to thaw my freezer meals before cooking?
Not always! Sauces, braises, and meatballs can easily be cooked directly from frozen on the stovetop or in an Instant Pot—just add a splash of broth or water to prevent scorching at the bottom. Casseroles and raw marinades, however, bake much more evenly if you let them thaw overnight in your refrigerator first.
At the end of the day, feeding a busy family while balancing life, work, and endless outdoor outings doesn’t require you to be a Michelin-star chef or a superhero. It just requires a smart plan, a few reliable kitchen gadgets, and a freezer stocked with real, delicious food made with love. Give these recipes a try on your next prep day—your future, exhausted Tuesday-self will thank you!
Affiliate link — if you sign up or buy through it, My Mama Mode may earn a small commission at no extra cost to you. As an Amazon Associate, My Mama Mode earns from qualifying purchases. My Mama Mode also participates in other retailer affiliate programs. Learn more.
Frequently asked
The most important rule is to always cool your food completely to room temperature before putting it in the deep freeze. Hot steam creates condensation, which turns into ice crystals that make your food watery and freezer-burned. I also rely on a heavy-duty vacuum sealer to keep air out so everything stays fresh three times longer.
You should avoid freezing soups that contain heavy cream, dairy, or noodles. Heavy cream tends to separate and break when thawed, while pasta absorbs all the liquid and turns into thick, wallpaper-paste sludge. Freeze your soup base on its own instead, then add your cream or fresh pasta during the last five minutes of reheating on the stove.
Straight from frozen, covered tightly with foil, at 375F. Give it about 75 to 90 minutes, then pull the foil off for the last 15 so the top browns. The foil is the whole trick, because uncovered the edges go leathery before the middle is even warm. And let it sit ten minutes before you cut it, or the first slice slides apart on the plate.
Tap the one that fits, mama — no comment box, no pressure ✦
Keep reading, mama
20-Minute Scratch Snack Bars That Actually Hold Up in a 4-Year-Old's Lunchbox
Ditch the boxed store-bought junk! These easy, 20-minute scratch-baked snack bars are lunchbox-approved, nut-free friendly, and made with real pantry food.

Scratch High-Protein Pancakes That Keep My Wild Kindergartner Full Until Lunch
Ditch the processed boxed mix! Learn how to make fast, delicious, high-protein scratch pancakes that fuel active kids through busy school mornings.
Snacks We Make Together: Easy Kitchen Wins With a Little Helper
Easy, low-mess no-bake snacks you can make with your 4-year-old! Simple recipes, real kitchen tips, and zero-stress fun with boy mom Annie.